
Product news
—
Nov 25, 2025
November Product Update: Custom Objects, 24/7 Support, and Multiple Integrations

We’re excited to introduce several new updates that make Lumana easier to tailor to your environment, faster to navigate during investigations, and better connected to the tools your teams use every day.
This month’s release adds Custom Object Search & Alerts, new customization tools for organizing and viewing your cameras, Microsoft Teams and FLIR integrations, quicker navigation between alerts and camera pages, and 24/7 customer support to ensure help is always available. Together, these updates help teams focus on meaningful activity, move through investigations with fewer steps, and stay informed across the systems they already rely on.
Detect what matters most with Custom Object training
Custom Objects provide a simple way for Lumana to recognize specific person and vehicle types unique to your sites.
Search across your footage for a term or upload sample images, walk through a few rounds of confirmation, and your custom object is ready for use across search and alert creation.
For example, you can teach Lumana what your work vans look like based on their vehicle wrap, allowing you to search for and alert on your vans only, rather than every similar van that passes by. You can also train on a specific uniform style, allowing you to quickly confirm when staff are present in key areas or when staff are identified in off-limit zones.
To create a custom object, go to your organization's database, select Custom Objects, and then click Create Custom Object. Type what you want to detect using free text. If that type has appeared in the last week of footage, examples will appear on screen. Three training rounds help confirm the object and reduce false alerts. If the object has not appeared in the last week, you can upload images so Lumana knows what to look for in the future. After training is complete, your custom object is ready to be searched and used in alerts.
Custom Objects is launching with person and vehicle types, with additional categories to be introduced in future releases. To enable Custom Objects, please contact your Lumana support representative.
Get help whenever you need it: 24/7 customer support
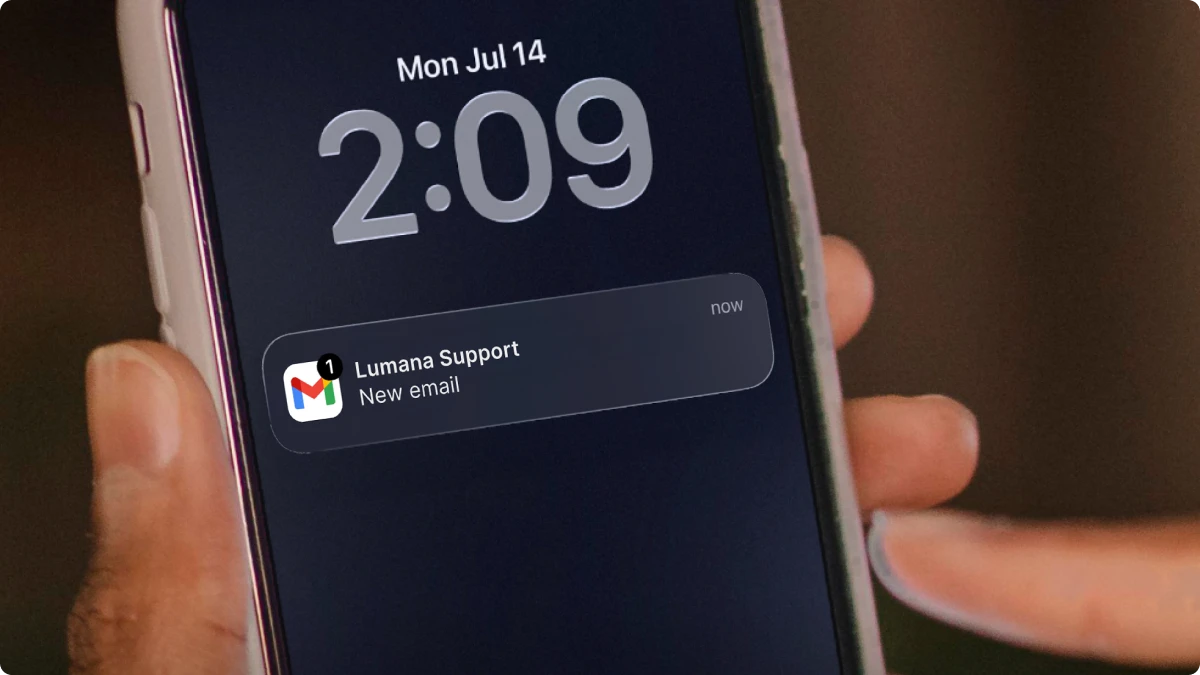
We are introducing 24/7 customer support so your team can reach Lumana whenever questions or issues come up, regardless of time or location. Whether you are bringing a new site online, tuning alerts, or responding to an active incident, help is always available.
Support is available by email and in-app tickets, so your team can choose what works best in the moment.
To contact support, email support@lumana.tech. You can also create a support ticket by visiting https://support.lumana.tech/ or by clicking the Help button inside the Lumana Control Center. From there, you can describe the issue, attach details, and track the status of your request.
Many vendors limit support to business hours or slow queues. Lumana sees every deployment as a long-term partnership, which is why you have 24/7 access to a team that understands your environment and treats your uptime and satisfaction as priorities. That means fewer dead ends, faster answers when it matters most, and a clear signal that we are committed to delivering the best experience to our users and partners.
See real-time system health with the Lumana Status Page
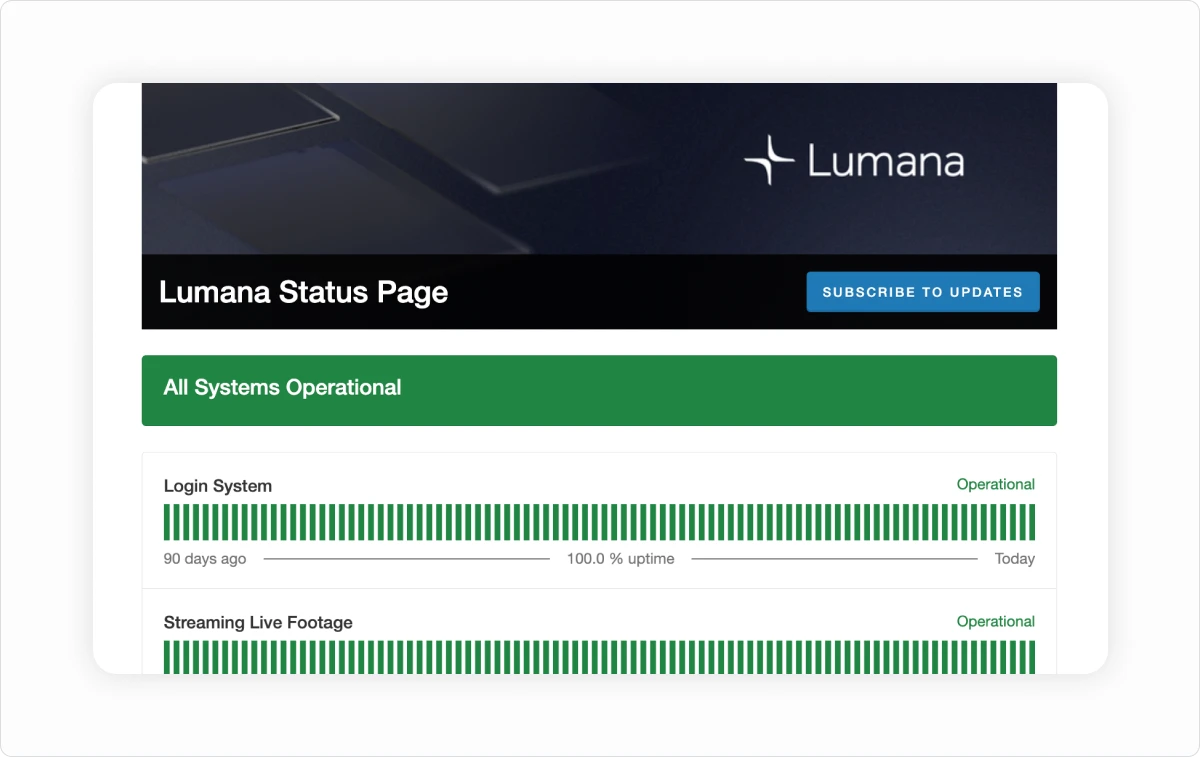
We have launched a new Lumana Status Page so your team can always see how the platform is performing. The page provides real-time system status, previous 90-day uptime, and a history of reported incidents, giving you complete visibility into Lumana’s reliability.
This added transparency reflects our commitment to giving users and partners clear, reliable insight into Lumana’s availability and performance.
You can visit it any time at https://status.lumana.tech/.
Monitoring walls that adapt to your operation
Every site has cameras that matter more than others. With custom walls, you can lay out your monitoring screen exactly as you want: large tiles for key entrances, smaller tiles for low-priority areas, or alert-only walls. If your team manages multiple locations, you can build a wall that shows only critical cameras across sites. In a control room, you can arrange tiles in the order your team uses during a shift.
How to use custom walls:
- Open the Walls view from the Lumana Control Center and select a wall.
- Click Edit wall and add camera and alert tiles from the list on the side.
- Drag tiles into position, then resize them to match their importance.
- Save the wall and select it whenever you need that layout.
Custom walls adapt to your workflow, rather than forcing you into a fixed grid.
Find the right camera faster with device page reorder
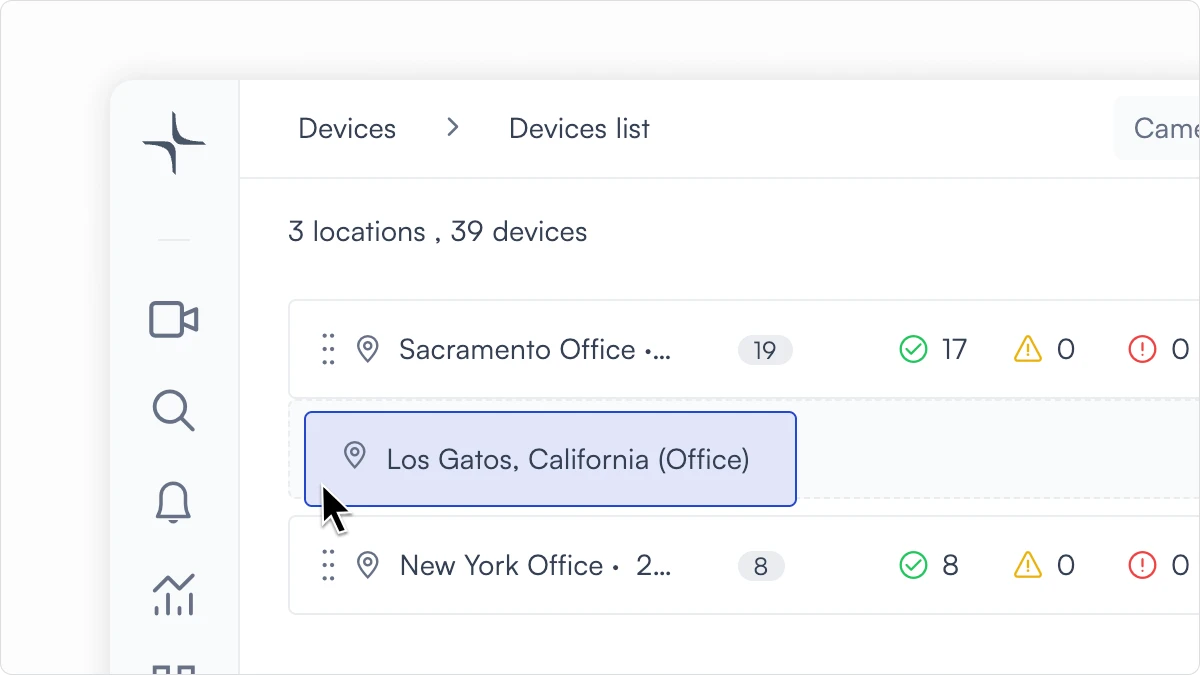
You can now easily sort your devices into an order that matches your building or workflow.
Move high-priority cameras to the top, group related areas together, and separate public-facing zones from back-of-house spaces.
For example, in a retail or banking environment, you might list main entrances, loading docks, and safes first, followed by interior aisles, back rooms, and other lower-priority views.
This small change makes it much easier to find the right camera under pressure and reduces the time spent scrolling or guessing where a view sits in the list.
Jump from alert to camera details instantly
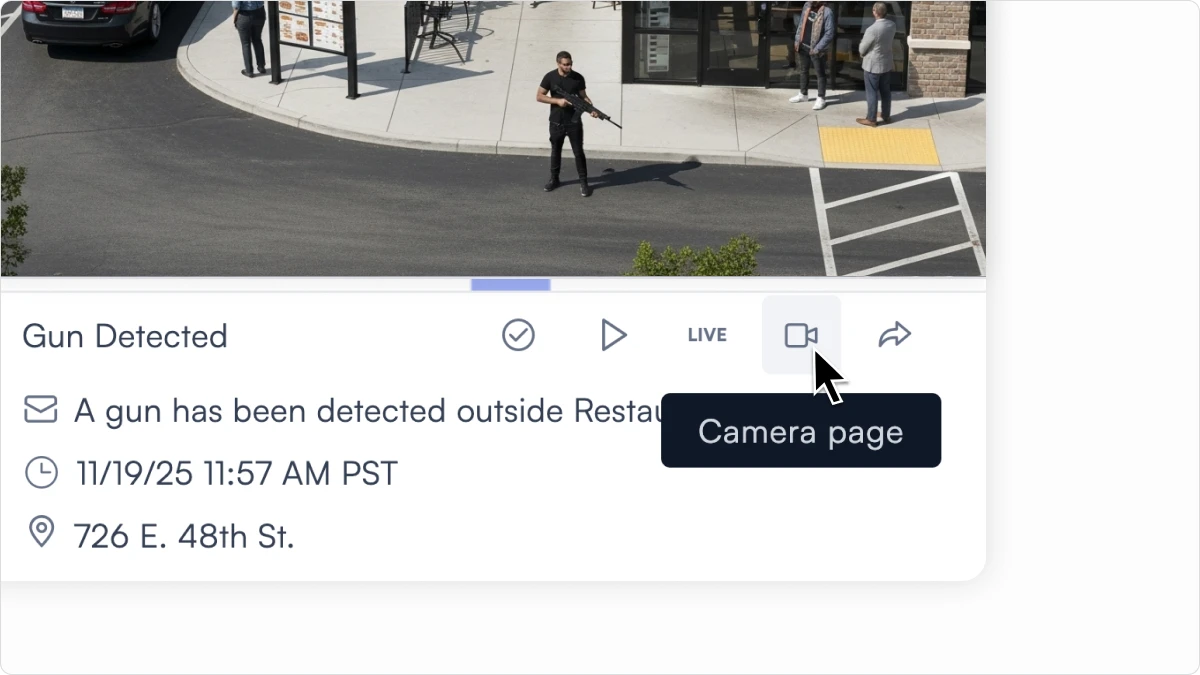
A new shortcut inside alerts takes you straight to the camera’s page for live view, playback, health, and analytics.
During an investigation, every click increases the time to resolution. This shortcut eliminates several steps and takes you directly to the context you need right away.
Get alerts in the tools you already use: Microsoft Teams

Many users keep Microsoft Teams open all day, even when they are not signed into Lumana. With the new Teams integration, Lumana can send alerts directly to specific channels so critical events like doors left ajar, people in restricted areas, or after-hours activity appear in channels where conversations are already happening.
To enable the integration, go to Organization Settings → Integrations → Communications and connect Microsoft Teams. Once configured, you can include Teams notifications as an automated action when creating alerts, along with email, SMS, speakers, and API actions.
Use Lumana with your existing FLIR VMS
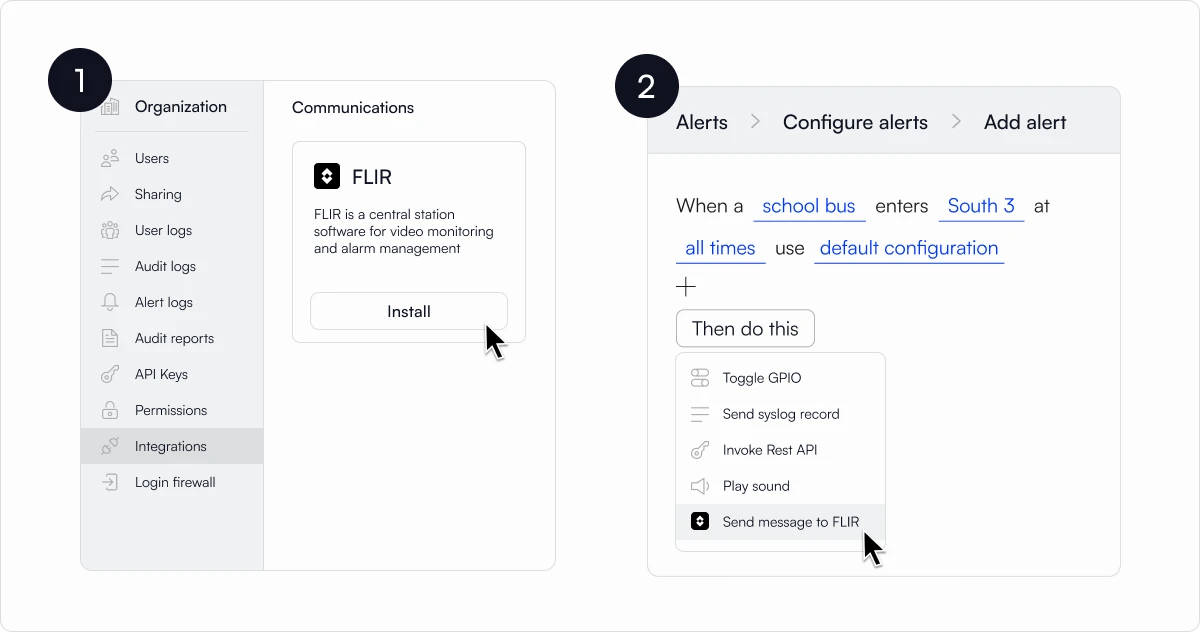
If your operations run on FLIR today, you can now receive Lumana alerts directly in your FLIR system.
This helps teams adopting Lumana gradually or operating in hybrid environments. It also ensures operators see key events in the environment they’re familiar with.
To enable the integration, go to Organization Settings → Integrations → VMS and connect FLIR.
Sign in with the identity provider you already trust: Enterprise Authentication
Enterprise authentication enables your users to sign in to Lumana using the same credentials they use for other business applications, leveraging Microsoft Entra ID or another SAML-based identity provider. You can also connect your predefined roles to Lumana's RBAC, automating onboarding for new users with specific predefined permissions levels. This provides IT with centralized control over who can access Lumana, ensuring that joiners, movers, and leavers are managed through your existing access processes.
Looking ahead: intelligence shaped by your environment
We’re focused on making Lumana more accurate and more tuned to your world with every release. As features like Custom Objects, new behavior models, and deeper integrations expand, Lumana will better understand what “normal” looks like at your sites, flag the anomalies that truly matter, and further reduce noise over time. This ongoing refinement helps ensure that alerts stay trustworthy, investigations remain streamlined, and your team can make decisions with greater confidence.
If you have questions or need assistance enabling any of these features, please contact support@lumana.tech.
Discover the power of AI video security
Related Articles
Workplace safety
Nov 20, 2025
Why AI Accuracy Matters in School Safety: Lessons From Recent Failures

Security management
Nov 6, 2025
AI Physical Security: A Practical Guide to Strategy & Best Practices
Product news
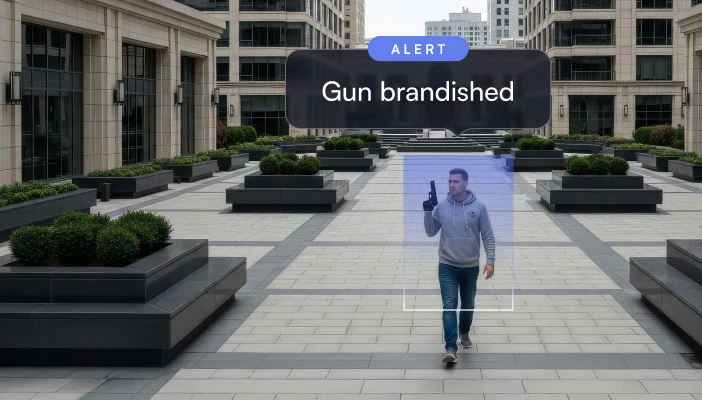
Oct 29, 2025
October Product Update: AI-Powered Gun Brandished Detection
Sign up for the Webinar
Submitted information will be used in accordance with our Privacy Policy.
We’re excited to introduce several new updates that make Lumana easier to tailor to your environment, faster to navigate during investigations, and better connected to the tools your teams use every day.
This month’s release adds Custom Object Search & Alerts, new customization tools for organizing and viewing your cameras, Microsoft Teams and FLIR integrations, quicker navigation between alerts and camera pages, and 24/7 customer support to ensure help is always available. Together, these updates help teams focus on meaningful activity, move through investigations with fewer steps, and stay informed across the systems they already rely on.
Detect what matters most with Custom Object training
Custom Objects provide a simple way for Lumana to recognize specific person and vehicle types unique to your sites.
Search across your footage for a term or upload sample images, walk through a few rounds of confirmation, and your custom object is ready for use across search and alert creation.
For example, you can teach Lumana what your work vans look like based on their vehicle wrap, allowing you to search for and alert on your vans only, rather than every similar van that passes by. You can also train on a specific uniform style, allowing you to quickly confirm when staff are present in key areas or when staff are identified in off-limit zones.
To create a custom object, go to your organization's database, select Custom Objects, and then click Create Custom Object. Type what you want to detect using free text. If that type has appeared in the last week of footage, examples will appear on screen. Three training rounds help confirm the object and reduce false alerts. If the object has not appeared in the last week, you can upload images so Lumana knows what to look for in the future. After training is complete, your custom object is ready to be searched and used in alerts.
Custom Objects is launching with person and vehicle types, with additional categories to be introduced in future releases. To enable Custom Objects, please contact your Lumana support representative.
Get help whenever you need it: 24/7 customer support
We are introducing 24/7 customer support so your team can reach Lumana whenever questions or issues come up, regardless of time or location. Whether you are bringing a new site online, tuning alerts, or responding to an active incident, help is always available.
Support is available by email and in-app tickets, so your team can choose what works best in the moment.
To contact support, email support@lumana.tech. You can also create a support ticket by visiting https://support.lumana.tech/ or by clicking the Help button inside the Lumana Control Center. From there, you can describe the issue, attach details, and track the status of your request.
Many vendors limit support to business hours or slow queues. Lumana sees every deployment as a long-term partnership, which is why you have 24/7 access to a team that understands your environment and treats your uptime and satisfaction as priorities. That means fewer dead ends, faster answers when it matters most, and a clear signal that we are committed to delivering the best experience to our users and partners.
See real-time system health with the Lumana Status Page
We have launched a new Lumana Status Page so your team can always see how the platform is performing. The page provides real-time system status, previous 90-day uptime, and a history of reported incidents, giving you complete visibility into Lumana’s reliability.
This added transparency reflects our commitment to giving users and partners clear, reliable insight into Lumana’s availability and performance.
You can visit it any time at https://status.lumana.tech/.
Monitoring walls that adapt to your operation
Every site has cameras that matter more than others. With custom walls, you can lay out your monitoring screen exactly as you want: large tiles for key entrances, smaller tiles for low-priority areas, or alert-only walls. If your team manages multiple locations, you can build a wall that shows only critical cameras across sites. In a control room, you can arrange tiles in the order your team uses during a shift.
How to use custom walls:
- Open the Walls view from the Lumana Control Center and select a wall.
- Click Edit wall and add camera and alert tiles from the list on the side.
- Drag tiles into position, then resize them to match their importance.
- Save the wall and select it whenever you need that layout.
Custom walls adapt to your workflow, rather than forcing you into a fixed grid.
Find the right camera faster with device page reorder
You can now easily sort your devices into an order that matches your building or workflow.
Move high-priority cameras to the top, group related areas together, and separate public-facing zones from back-of-house spaces.
For example, in a retail or banking environment, you might list main entrances, loading docks, and safes first, followed by interior aisles, back rooms, and other lower-priority views.
This small change makes it much easier to find the right camera under pressure and reduces the time spent scrolling or guessing where a view sits in the list.
Jump from alert to camera details instantly
A new shortcut inside alerts takes you straight to the camera’s page for live view, playback, health, and analytics.
During an investigation, every click increases the time to resolution. This shortcut eliminates several steps and takes you directly to the context you need right away.
Get alerts in the tools you already use: Microsoft Teams
Many users keep Microsoft Teams open all day, even when they are not signed into Lumana. With the new Teams integration, Lumana can send alerts directly to specific channels so critical events like doors left ajar, people in restricted areas, or after-hours activity appear in channels where conversations are already happening.
To enable the integration, go to Organization Settings → Integrations → Communications and connect Microsoft Teams. Once configured, you can include Teams notifications as an automated action when creating alerts, along with email, SMS, speakers, and API actions.
Use Lumana with your existing FLIR VMS
If your operations run on FLIR today, you can now receive Lumana alerts directly in your FLIR system.
This helps teams adopting Lumana gradually or operating in hybrid environments. It also ensures operators see key events in the environment they’re familiar with.
To enable the integration, go to Organization Settings → Integrations → VMS and connect FLIR.
Sign in with the identity provider you already trust: Enterprise Authentication
Enterprise authentication enables your users to sign in to Lumana using the same credentials they use for other business applications, leveraging Microsoft Entra ID or another SAML-based identity provider. You can also connect your predefined roles to Lumana's RBAC, automating onboarding for new users with specific predefined permissions levels. This provides IT with centralized control over who can access Lumana, ensuring that joiners, movers, and leavers are managed through your existing access processes.
Looking ahead: intelligence shaped by your environment
We’re focused on making Lumana more accurate and more tuned to your world with every release. As features like Custom Objects, new behavior models, and deeper integrations expand, Lumana will better understand what “normal” looks like at your sites, flag the anomalies that truly matter, and further reduce noise over time. This ongoing refinement helps ensure that alerts stay trustworthy, investigations remain streamlined, and your team can make decisions with greater confidence.
If you have questions or need assistance enabling any of these features, please contact support@lumana.tech.